
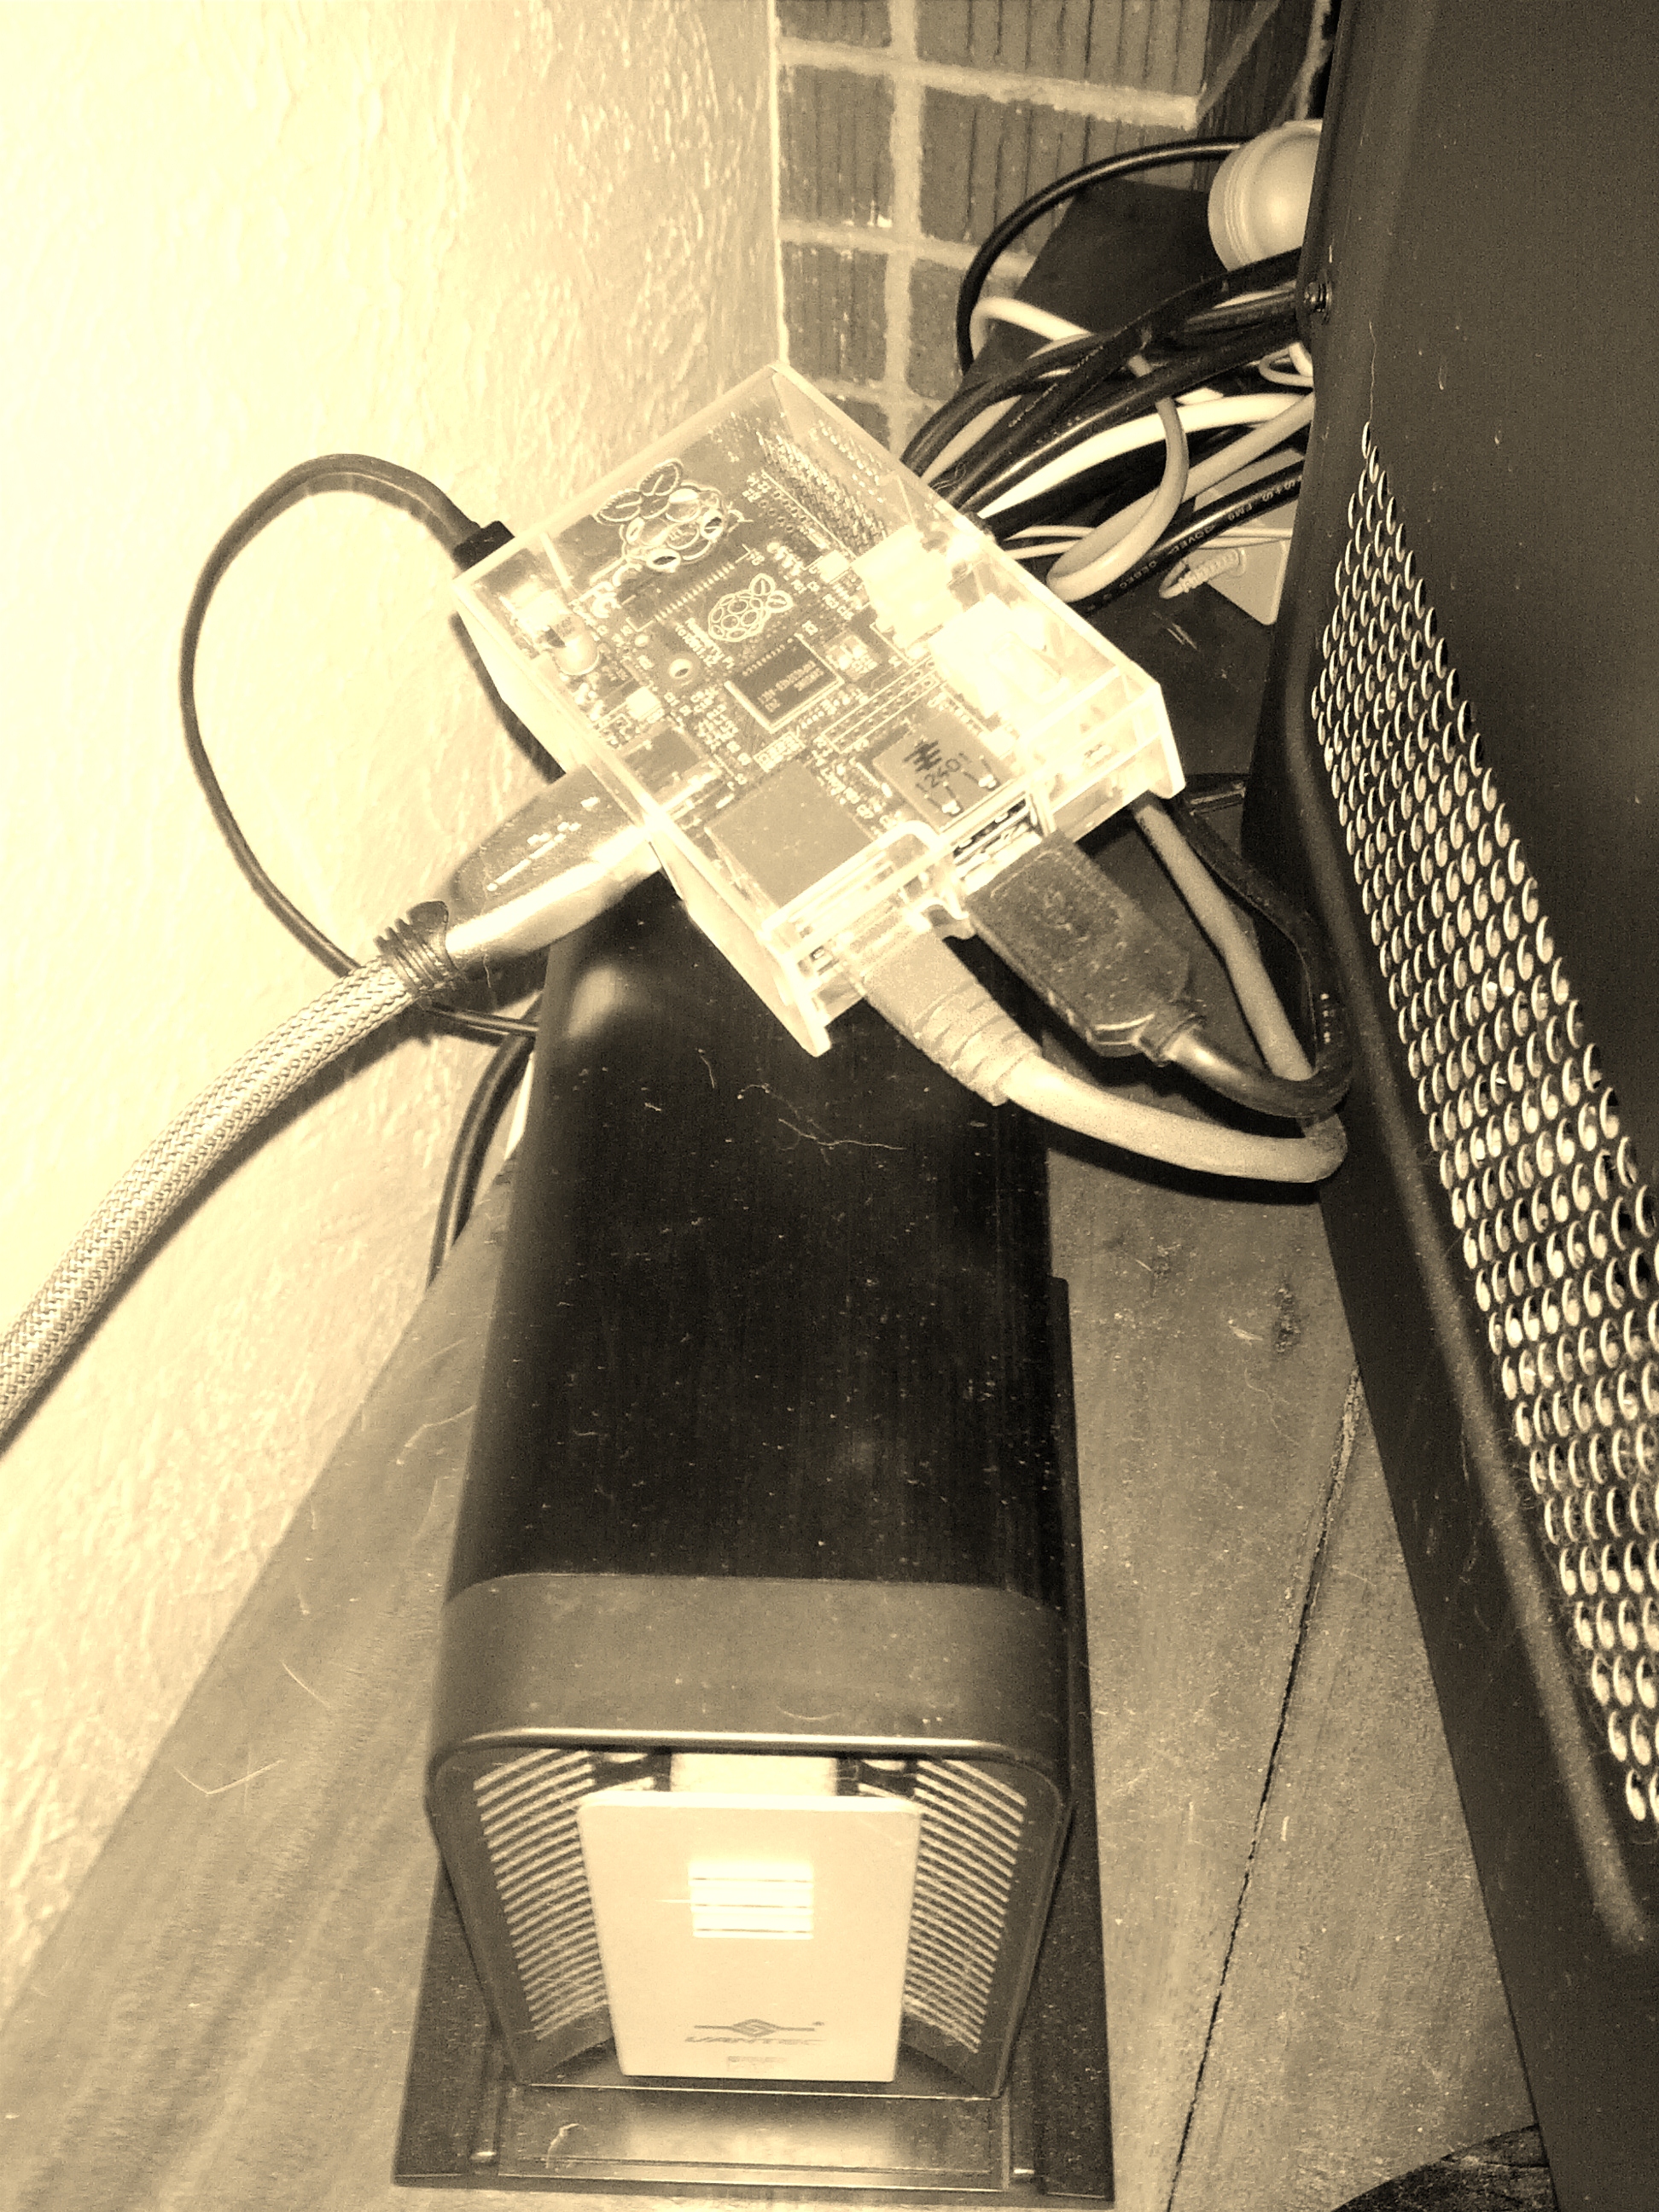
This is a cheap way to get a high quality and flexible media center sitting under (or in my case, behind) your TV.
RaspBMC
From Windows:
- Download the installer
- Insert your SD card into the computer.
- Unzip and run the raspbmc-win32 installer.
- Once that is done, stick the card into the Pi and give it some power.
- Wait while it installs the root system (grab a coffee!) This should take about 15 minutes, then with a little luck the Pi will reboot twice, run it’s automatic updater, reboot again, then finally open into XBMC .
- Note down the IP that is assigned to the Pi as it flashes up, or work it out by checking your router.
- Set up your remote. I use Yatse on my Android devices. Otherwise plug in a keyboard or mouse. I’m assuming you can get some input sorted.
- Go Settings -> System -> Video -> Video Output and calibrate the TV (otherwise the left sidebar ends up off screen for me).
- Add your content. Go Video -> Files -> Files -> Add Videos…
- Click browse and choose your directory (root file system / media for me)
- Then choose the type of Video you are adding. I’m only adding home videos, but I imagine selecting something here will check online services when you add content and pull down more information and images about that piece of content.
- Repeat till you’ve got all your videos and music set up.
- Enjoy your raspbmc media center!
- Be sure to power it down before resetting it.
That’s the basic install, below is the more advanced stuff.
Setup SSH
- SSH will be running on the Pi so shell into the ip and login using the default login, ‘pi’ with password ‘raspberry’.
- Select your locale – I choose en_AU UTF8 and en_AU ISO-8859-1. Sit back while locales are generated.
- Choose your location. Tip: Australia is one above what you can see by default. Finally you will be dumped at the CLI.
- sudo apt-get update (DO NOT do upgrade, currently that breaks the system completely – See: http://forum.stmlabs.com/showthread.php?tid=6214)
Transmission
Install transmission
sudo apt-get install transmission-daemon
Set it to run at startup –
sudo update-rc.d transmission-daemon defaults
Edit the transmission settings file
sudo vi /etc/transmission-daemon/settings.json
change rpc-whitelist-enabled to false
sudo /etc/init.d/transmission-daemon restart
Next we change the mount status of our usb drive so transmission can write to the drive.
First get the drive name:
sudo fdisk -l
Then match the drive name, such as /dev/sdb1 to the UUID:
ls -l /dev/disk/by-uuid
In my case it is 6CBA-812B
Now, edit fstab:
sudo vi /etc/fstab
Add a line like the following:
UUID=6CBA-812B /media/mediatomb vfat defaults,auto,umask=000,users,rw 0 0
Make the mediatomb directory:
sudo mkdir /media/mediatomb
Test with sudo mount -a then reboot and check the drive automounted.
Rasberry Pi’s are the bomb! Low cost hardware and open source software freakin rocks!
If anyone’s trying to work out how to get remote access to their transmission running on their NAT’ed pi, checkout this discussion for a few different solutions: http://forum.stmlabs.com/showthread.php?tid=6726
Basically, the current default version of raspbmc has a firewall rule that blocks all communication to the pie, not on the same subnet as the pi.
In the file “/etc/network/if-up.d/secure-rmc” add “iptables -A INPUT -p tcp –dport 9091 -j ACCEPT” right before the DROP statement at the end. Then reboot your pi 🙂